Today’s tutorial is a very basic tutorial for BuddyPress users. For those who haven’t heard of BuddyPress, it’s a WordPress plugin that allows you to setup a social network site on top of your WordPress installation. If you want to setup a social network site for your school, college or a group of people with the same interests, BuddyPress is a great option.
Once you’ve installed the BuddyPress plugin, one of the first things you’ve to do is to enable membership registration on your site. The steps are quite different than allowing public users to register on your WOrdPress site.
To enable user registrations, go to Settings > General and tick on “Membership” option. Then save it.

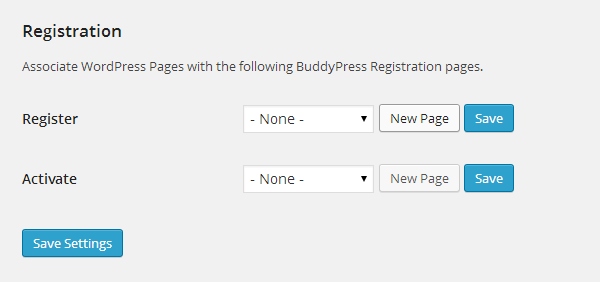
Right after that, you’ll see a notification at the top of the screen regarding missing BuddyPress components that need to be fixed. Simply click on the Repair link. This is a very important step since you need to create a page for both Register and Activate components. Then, simply choose a page from the dropdown option. If you’d like to create a new page, click on New Page button.

That’s how to enable the membership registration in BuddyPress powered site. We hope this tutorials helped you to master the basic settings of BuddyPress. If you want to be able to moderate user registrations on your site, please see our tutorial on How to Moderate User Registrations in BuddyPress.
For more tutorials about BuddyPress, please take a look at our BuddyPress archive page or subscribe to our RSS.
Leave a Reply