When I first started using WordPress about 5 years ago, I never happy with default WordPress theme. I always wanted to change the font sizes, background, add some border and etc - basically anything that can be done with simple tweak in CSS.
I was not a programmer at that time and things were difficult. Thankfully, someone introduced me to Firebug. Firebug is a little add-on (or also known as extension) for Firefox and I’m proud to say that I’m still using Firebug to do some simple customization for my client.
One of my favorite features in Firebug is it allows user to inspect any element of a site.
Using Firebug
1. Make sure you’ve installed the Firebug addon.
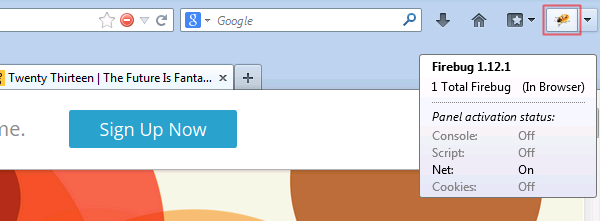
2. Click on the small Firebug icon to enable Firebug on the page you would like to customize. Then, you’ll see the Firebug panel at the bottom of your screen.

3. Click on the icon as shown on the image below to start inspecting any element of the site.

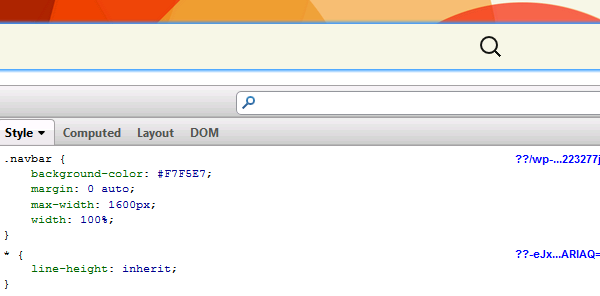
4. Hover on targeted element and on your right panel, you’ll see the class belongs to the element. In this example, I’d like to customize the site navigation of Twenty Thirteen theme. Using the inspect element feature, I know that the site navigation is using .navbar class and the background color of the site-navigation is #F7F5E7.

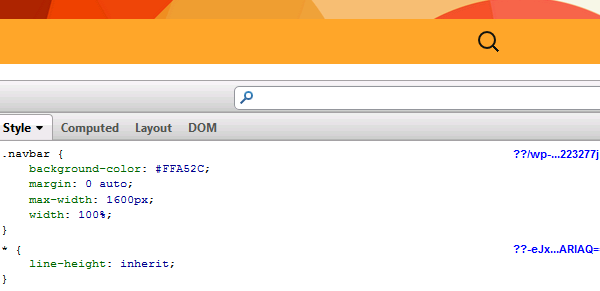
5. From the panel, I can simply change the color of the site navigation using the right color in HEX format and can see the change in color immediately.

6. Once you have satisfied with the changes you made, simply copy the new or additional code and paste it to your stylesheet (style.css). The stylesheet can also be accessed from your dashboard from Appearance > Editor. To search the class of the element in your stylesheet, simply hit CTRL+ F (for Windows user) and type in the name of class of the element in the search form.
Leave a Reply