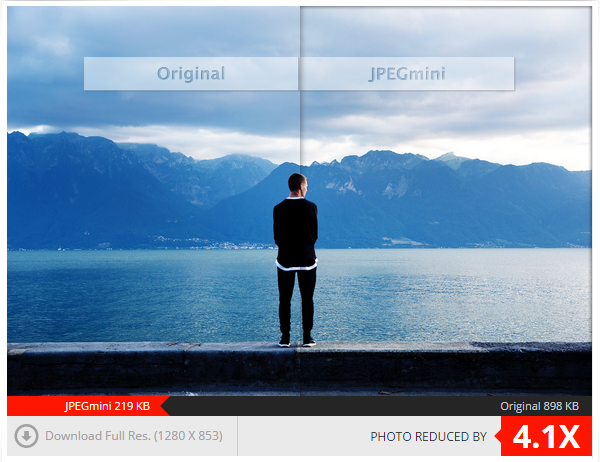
In today’s tutorial, we’d like to share a cool plugin that we just discovered. If you’ve used JpegMini before, you probably notice their nice images side-by-side comparison on their site displayed in a nice slider.

If you’re looking to add that similar slider to your WordPress site, look no further than TwentyTwenty script by Zurb. Luckily, if you’re using WordPress, someone had turned this script into a working WordPress plugin that can be downloaded for free from WordPress.org plugin repo. Introducing TwentyTwenty plugin.
Installing TwentyTwenty plugin is no different than installing other WordPress plugins.
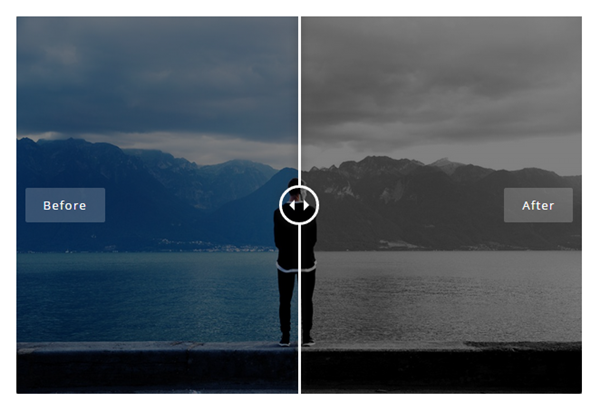
Once you’ve installed and activated the plugin, adding the slider is really easy. In the post editor, simply upload two images, which is the ‘before’ and ‘after images’. The first image uploaded will be the ‘before’ which the second image will be the ‘after’. Next, wrap these two images in [twentytwenty] and [/twentytwenty] shortcode. Here’s an example we did:

That looks pretty good. For best result, make sure both images are similar in dimension. That’s pretty much how to display and compare images side by side in WordPress site.
Like this tutorial? Subscribe to our RSS for more awesome tutorials like this.
Leave a Reply