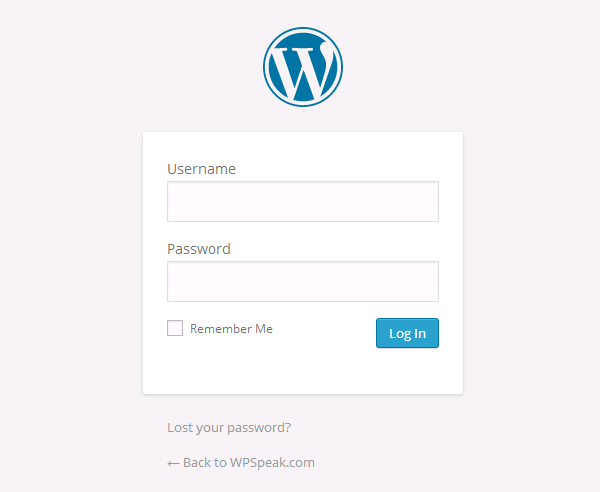
Last week, we’ve published a tutorial on how to add custom message to our login page. In today’s tutorial, we’ll learn another tutorial on customizing our login page. We’ll show you how to add custom logo on our WordPress login page. Here’s how the default login page looks like:

As we can see, there’s an official WordPress logo on our login page. If you’re building a site for a client, we can white label the login page by replacing the default logo with your own logo.
To replace the logo with your own logo, you may use a plugin called Uber Login Logo.
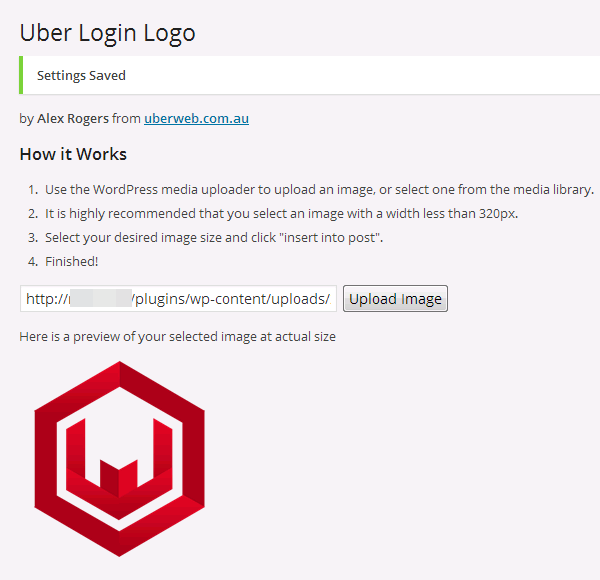
After activating the plugin, go to Settings > Uber Login Logo to upload your logo. Simply drag your image to the image uploader and once uploaded, it will be automatically saved. Make sure the logo isn’t too big.

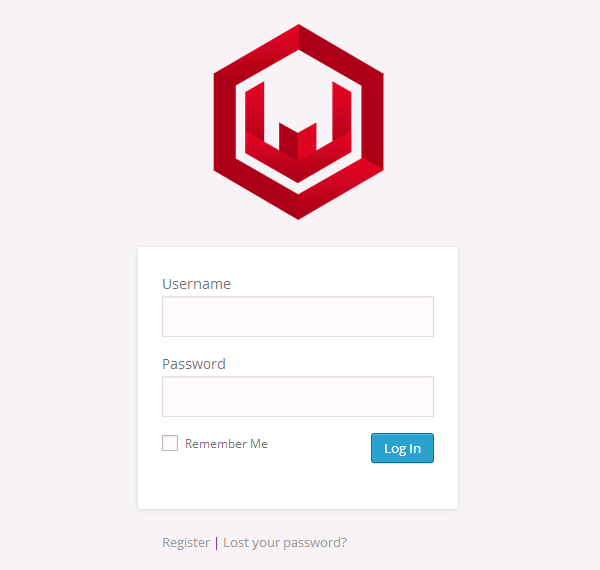
Here’s an example of a login page with our logo on it. That looks pretty good.

We hope this tutorial helped you to replace the default logo on WordPress login page with your own logo.

Hello dear. Thank you in advance for sharing this informative article with us. I’ve used Uber Login Logo in order to change my WordPress Login page’s logo. This is very easiest way to change WordPress Login Logo. After reading your article this should very much clear to everybody. Thank you again.